Introduction:
Introduction:
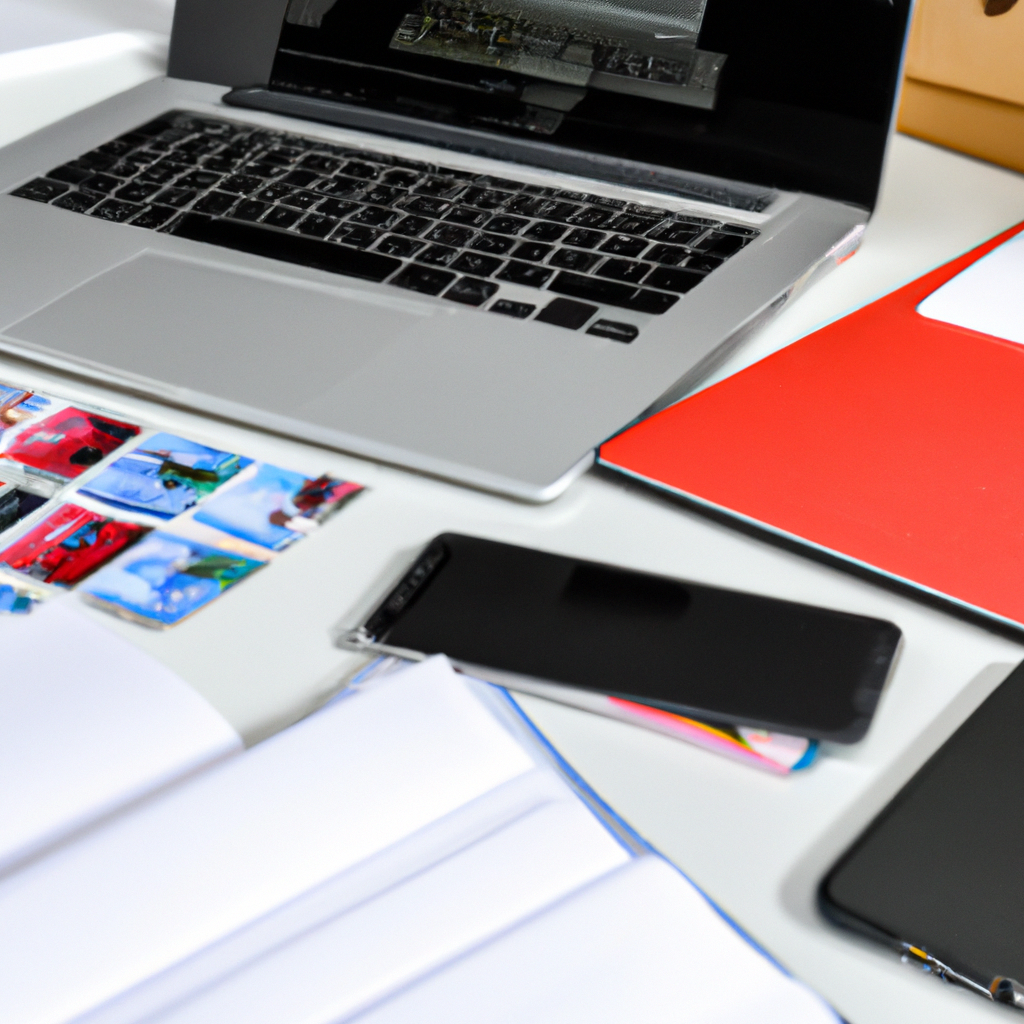
In today’s digital age, everyone has a camera in their pocket in the form of their smartphone. Most people use their mobile photos for personal purposes, such as sharing on social media or sending to family and friends. But with a little editing, those pictures can go from good to great.
If you want to take your mobile photography to the next level, editing is crucial. With a few simple steps, you can make your photos look like they were taken by a professional photographer. But where do you even begin? With so many photo editing apps available, it can be overwhelming to know where to start.
That’s why we’ve put together this comprehensive guide on how to edit your mobile photos like a pro. In this series, we’ll cover everything from basic adjustments to advanced techniques, so you can take your photos to the next level.
Whether you’re a professional photographer or someone who just wants to make their photos look a little better, this guide is for you. So get ready to transform your mobile photos into stunning works of art.
Understanding the basics:
Section 2: Understanding the basics
In this section, we will cover the basic editing tools and techniques that you will need to know to edit your mobile photos like a pro.
1. Cropping and Straightening
Cropping and straightening are two basic editing tools that can make a huge difference in the composition of your photos. Cropping can help you remove any unwanted elements from your photos and make the subject of your photo more prominent. Straightening, on the other hand, can help you align the horizon and balance out the elements in your photo.
Most mobile photo editing apps come with cropping and straightening tools that are easy to use. Simply select the tool and adjust the sliders until you get the desired results.
2. Adjusting brightness, contrast, and saturation
Brightness, contrast, and saturation are three key elements to consider when editing your mobile photos. Adjusting these elements can help you bring out the details in your photos and make them look more vibrant and engaging.
Most mobile photo editing apps allow you to adjust these elements using sliders. Just make sure to use them sparingly to avoid over-editing your photos.
3. Applying filters
Filters are one of the easiest ways to enhance your mobile photos. They can help you add a unique look and feel to your photos with just a simple tap. Most mobile photo editing apps come with a range of filters to choose from, so experiment with different filters to find the ones that work best for your photos.
4. Removing blemishes and unwanted elements
No matter how careful you are when taking photos, there will always be some elements that you wish weren’t there. This is where the removal tools come in handy. Most mobile photo editing apps come with spot removal tools that can help you remove blemishes and unwanted elements from your photos.
Make sure to use these tools with caution to avoid over-editing your photos and making them look obviously manipulated.
Conclusion:
Understanding the basics of mobile photo editing is key to creating stunning photos that capture the essence of the moments you want to remember. From cropping and straightening to adjusting brightness, contrast, and saturation, and applying filters and removal tools, these basic techniques will help you get started with editing your mobile photos like a pro.
Basic editing techniques:
Basic Editing Techniques:
Now that you understand the importance of editing and have a basic understanding of the apps available, it’s time to dive into some basic editing techniques. These techniques will help you enhance the overall look and feel of your mobile photos, making them stand out from the rest.
1. Adjust the Exposure:
The exposure of a photo refers to the amount of light that the camera has captured. Sometimes, the photo can be underexposed or overexposed, resulting in either a dark or a bright image. To adjust the exposure, use the Brightness or Exposure tool in your editing app. Increase the exposure to brighten the image, or decrease it to darken the image.
2. Adjust the Contrast:
Contrast refers to the difference in brightness between the light and dark areas of a photo. Increasing contrast can make an image look more vibrant and defined, while decreasing contrast can give a softer and more muted look. Use the Contrast tool in your editing app to adjust the contrast.
3. Crop and Straighten:
Cropping a photo can help you focus on the subject and remove any unnecessary elements. Use the cropping tool in your editing app to crop the image to a specific ratio or size. Additionally, use the Straighten tool to straighten any tilted lines in the photo.
4. Adjust Colors:
Colors can make a big difference in the overall look of a photo. Use the Saturation tool to make the colors more vibrant or desaturated. Use the Temperature tool to adjust the warmth or coolness of the overall image.
5. Use Filters:
Filters can add a unique and stylized look to your mobile photos. However, use them sparingly and not as a crutch for poor lighting or composition. Most editing apps have a variety of filters to choose from, but also allow you to adjust the intensity of the filter.
By using these basic editing techniques, you can take your mobile photos to the next level. Remember to always start with a good quality photo and keep your edits subtle for a more natural-looking result. Stay tuned for our next section on Advanced Editing Techniques!
Advanced editing techniques:
Advanced editing techniques:
Now that you’ve learned the basics of photo editing on your mobile device, it’s time to take your skills to the next level. Here are some advanced editing techniques that will help you edit your mobile photos like a pro:
1. Adjusting color and tone – One of the most important aspects of photo editing is getting the color and tone just right. To do this, you can use tools like saturation, hue, brightness, and contrast. Experiment with these settings until you achieve the desired look.
2. Cropping and resizing – When editing your photos, don’t be afraid to crop and resize them to emphasize certain elements of the image or to create a new composition altogether. This is a great way to turn an ordinary photo into something extraordinary.
3. Adding filters – Filters can be a fun way to add a unique look to your photos. Just be careful not to go overboard with them. Use them sparingly and choose filters that complement your subject matter.
4. Removing unwanted objects – Sometimes, there may be an unwanted object or person in your photo that detracts from the overall composition. Use the clone tool or the healing brush to remove these objects seamlessly.
5. Blurring backgrounds – Blurring the background of your photo can help draw attention to your subject and make them stand out. Use the selective blur tool to achieve this effect.
6. Using layers and masks – If you’re familiar with graphic design software like Photoshop, then you may already know how powerful layers and masks can be. These tools allow you to manipulate individual elements of your photo without affecting the entire image.
7. Adding text and graphics – If you’re looking to create a more elaborate design, try adding text or graphics to your photo. This can be a great way to create a custom social media post or to add branding to your images.
These advanced editing techniques will help you take your mobile photo editing skills to the next level. With practice and experimentation, you’ll be able to create stunning photos that are sure to impress.
Tips & tricks:
Tips & tricks:
How to Edit Your Mobile Photos Like a Pro: A Comprehensive Guide
Congratulations! You are now a pro at taking awesome mobile photos. But that’s only half the battle. To truly make your photos stand out, you also need to know how to edit them like a pro. Here’s a comprehensive guide to help you get started.
1. Choose the right apps
There are a multitude of photo editing apps available for your mobile device, but not all are created equal. Some of the most popular ones include VSCO, Snapseed, Lightroom, and Photoshop Express. Each app has its own strengths and weaknesses, so it’s worth experimenting with a few to find the one that suits your needs.
2. Know your tools
Photo editing apps are packed with features and tools that can sometimes be overwhelming. Take the time to learn what each one does, and how it can be used to enhance your photos. Some of the most common tools include brightness, contrast, saturation, temperature, sharpness, and cropping.
3. Don’t overdo it
Less is often more when it comes to photo editing. Don’t go crazy with filters, and try not to change the natural look of the photo too much. The idea is to enhance what’s already there, not create something that looks completely different.
4. Adjust the exposure
One of the most important aspects of photo editing is getting the exposure right. This refers to the brightness and darkness of the photo. If your photo is too dark or too bright, adjust the exposure until it looks just right.
5. Use selective editing
Selective editing allows you to apply a specific edit to a certain area of the photo. It’s a great way to make small adjustments without affecting the entire photo. Most photo editing apps have a selective editing tool, which allows you to target specific areas of the photo.
6. Experiment with filters
Filters are a great way to add a unique look to your photos. Most photo editing apps come with a wide range of filters to choose from, each with its own style and mood. Experiment with different filters to see which ones work best for your photos.
7. Save your edits
Once you’re happy with your edits, be sure to save them. Most photo editing apps allow you to save a copy of the edited photo, so you can always go back to the original if you need to. This is also a great way to keep track of the changes you’ve made to the photo.
In conclusion, editing your mobile photos like a pro is all about using the right tools and techniques to enhance the natural beauty of your photos. Take the time to learn your photo editing app inside and out, and don’t be afraid to experiment with different filters and editing techniques. With a little practice and patience, you’ll be able to turn your ordinary photos into works of art.