Introduction
Introduction:
Stains are a common and unavoidable part of life, whether it’s a spill on your favorite blouse, a mystery mark on your carpet, or a smudge on your couch. But fear not, there is a solution! Instead of purchasing expensive products with harsh chemicals, why not create your own homemade stain remover?
Homemade stain removers are not only cost-effective and eco-friendly, but they are also surprisingly effective at removing a variety of stains. Plus, you can customize the ingredients to match the specific needs of your stain, making it a versatile solution for any household.
In this five-part series, we will guide you through the process of creating your very own homemade stain remover. You will learn about the basic ingredients, how to create specific formulas for different types of stains, and how to properly use your stain remover for optimal results.
So, let’s get started and say goodbye to pesky stains once and for all!
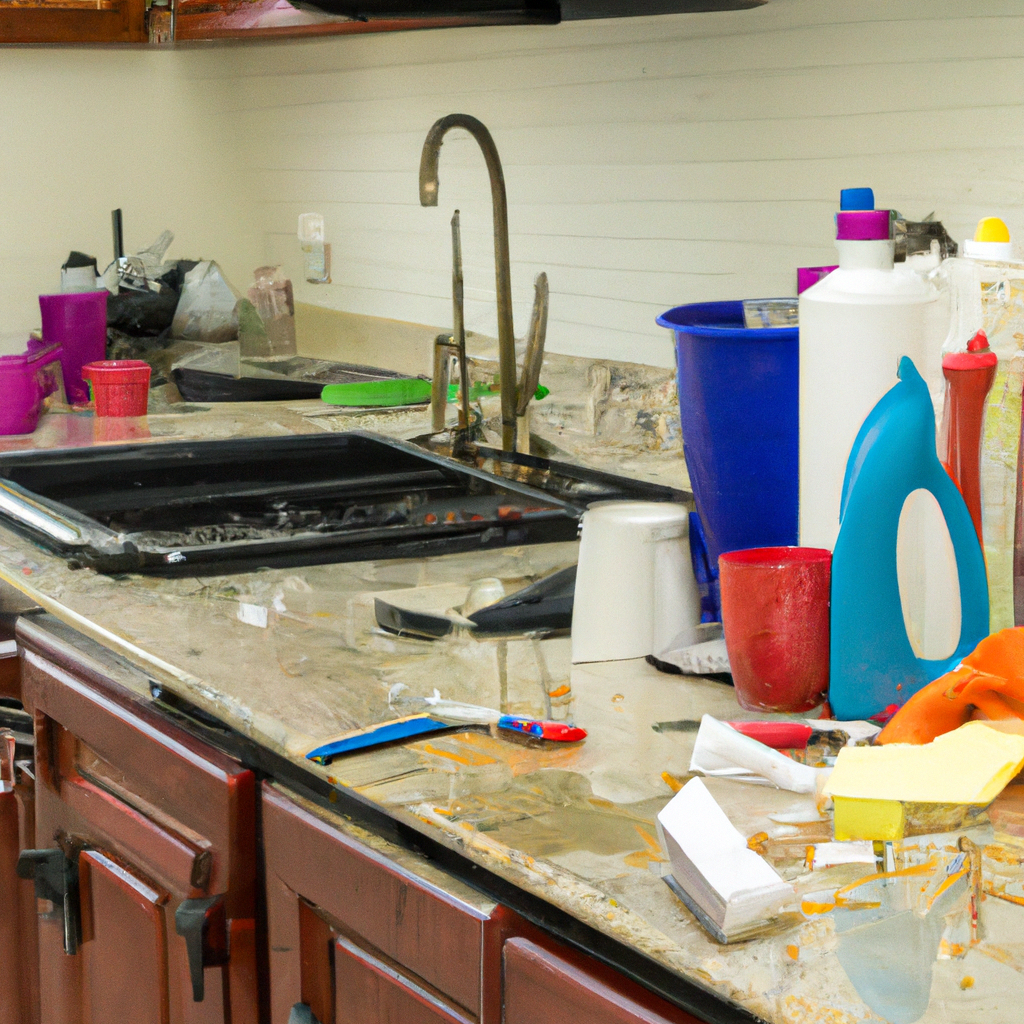
Common Ingredients for Homemade Stain Removers
How to Create a Homemade Stain Remover
Creating a homemade stain remover can be easy and cost-effective. Plus, you can feel good knowing exactly what ingredients are in it. Here are some common ingredients used in homemade stain removers and how to use them:
1. White vinegar – Vinegar is a versatile ingredient that can be used for many cleaning purposes, including stain removal. It works especially well for removing stains from sweat, coffee, and tea. To use, mix equal parts white vinegar and water, and apply the mixture to the stain before washing.
2. Baking soda – Another versatile ingredient, baking soda can be used for deodorizing and stain removal. It works well for removing stains from grease, oil, and blood. To use, mix baking soda and water to form a paste, apply it to the stain, and let it sit for a few minutes before washing.
3. Hydrogen peroxide – Hydrogen peroxide is a powerful bleaching agent that can be used for removing tough stains like wine, grass, and chocolate. It’s important to test this ingredient on a small, inconspicuous area first because it can cause discoloration. To use, apply hydrogen peroxide to the stain and let it sit for a few minutes before washing.
4. Lemon juice – Lemon juice is a natural bleach and works well for removing stains from sweat and rust. To use, apply lemon juice to the stain and let it sit in the sun for a few hours before washing.
5. Salt – Salt can be used for removing stains from red wine and ink. To use, apply salt to the stain and let it sit for a few hours before washing.
These are just a few common ingredients you can use to create a homemade stain remover. Experiment with different combinations and find what works best for you. As always, be sure to test on a small, inconspicuous area before applying to the entire stain.
Recipes for Homemade Stain Removers
Section 3: How to Create a Homemade Stain Remover
Ready to make your own stain remover? Here are a few recipes to try:
1. Baking soda and vinegar
Mix 1 part baking soda with 2 parts vinegar and apply the mixture to the stain. Let it sit for 30 minutes before washing as usual.
2. Hydrogen peroxide and dish soap
Mix 1 part hydrogen peroxide with 1 part dish soap and apply the mixture to the stain. Let it sit for 30 minutes before washing as usual.
3. Lemon juice and salt
Mix equal parts of lemon juice and salt and apply the mixture to the stain. Let it sit for 30 minutes before washing as usual.
4. Borax and water
Dissolve 1 teaspoon of borax in 1 cup of water and apply the mixture to the stain. Let it sit for 30 minutes before washing as usual.
5. Club soda
Pour club soda directly onto the stain and let it sit for 10-15 minutes before washing as usual.
When using any of these homemade stain removers, always follow the manufacturer’s care instructions for the fabric. Some fabrics may require special attention, such as delicate fabrics that should be hand washed, or dry-clean only fabrics that require professional cleaning.
It’s also important to test any stain remover on a small, inconspicuous area of the fabric before applying it to the stain. This can help prevent damage to the fabric and ensure that the stain remover is effective.
Creating your own homemade stain remover is a great way to save money and reduce waste. These recipes are easy to make and can be customized to suit your needs. Give them a try and see how they work for you!
Tips to Use Homemade Stain Removers Effectively
Section 4: How to Create a Homemade Stain Remover
Are you tired of spending a fortune on store-bought stain removers that don’t work? Why not try making your own at home? With a few simple ingredients, you can create a powerful stain remover that is both cost-effective and environmentally friendly. Here’s how to do it:
Ingredients:
– 1/2 cup baking soda
– 1/4 cup hydrogen peroxide
– 1 tablespoon dish soap
Instructions:
1. Mix the baking soda and hydrogen peroxide together in a small bowl. The mixture will fizz, so stir slowly until it stops.
2. Add the dish soap and mix until well combined.
3. Pour the mixture into a spray bottle.
To use:
1. Shake the spray bottle before use.
2. Spray the stained area generously with the solution.
3. Let the solution sit for 5-10 minutes.
4. Blot the stain with a clean cloth or sponge.
5. Rinse the area with water.
Tips for using homemade stain removers:
– Always test the solution on a small, inconspicuous area first to ensure it won’t damage the fabric.
– For tough stains, let the solution sit for longer or repeat the process.
– Don’t let the solution dry on the fabric as it may bleach or discolor the area.
– Store the unused solution in a cool, dry place for future use.
In conclusion, creating your own homemade stain remover is a great way to save money and be more environmentally conscious. With this simple recipe, you can easily tackle even the toughest stains without the use of harsh chemicals. Give it a try and see the results for yourself!
Conclusion
Conclusion
Creating a homemade stain remover is a great way to save money and ensure that your clothes stay clean without harsh chemicals. By following these simple steps and using the right ingredients, you can easily create an effective stain remover that can tackle even the toughest stains.
Remember, different types of stains require different types of treatments, so it’s important to determine the cause of the stain before treating them. Additionally, always test your homemade stain remover on a small, inconspicuous spot of fabric before using it on a larger stain.
With a little bit of creativity and a few simple ingredients, you can create a homemade stain remover that works just as effectively as the store-bought versions, but without the added chemicals and cost. Try out different formulas and find the one that works best for you and your specific needs.
So, the next time you’re faced with a stubborn stain, reach for your homemade stain remover and watch it disappear before your eyes!