Introduction
Introduction
Yogurt is a delicious and healthy food that is loved by many. Not only is it packed with nutrients like protein and calcium, but it also contains beneficial bacteria that can improve digestive health and boost the immune system.
While store-bought yogurt is convenient, making your own yogurt from scratch is easy and rewarding. Not only does it allow you to control the ingredients and the sweetness, but it also saves money in the long run.
In just five easy steps, you can learn how to make yogurt from scratch using only a few simple tools and ingredients. This guide will walk you through the process, so you can enjoy homemade yogurt anytime you want.
Ingredients and Tools
Ingredients and Tools
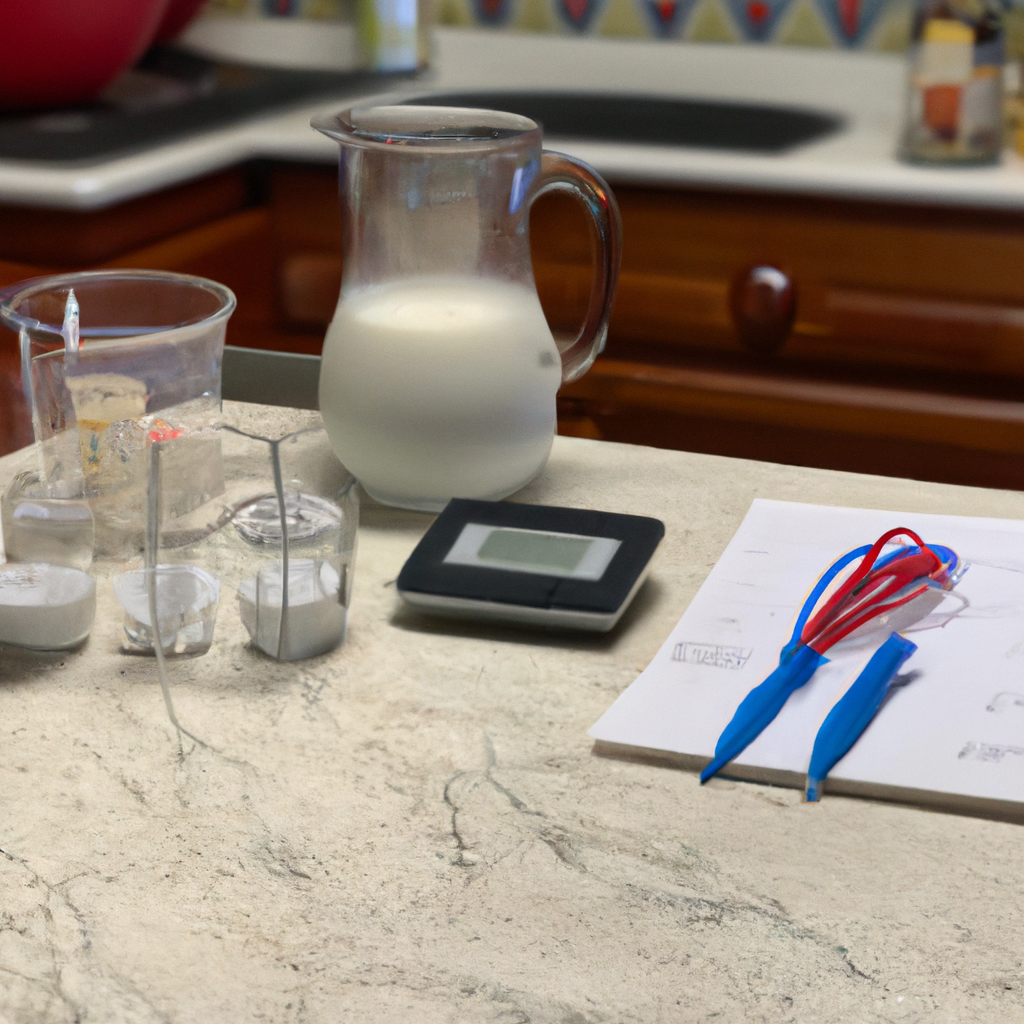
To make yogurt from scratch, you will need the following ingredients and tools:
Ingredients:
– 4 cups whole milk
– 2 tablespoons plain yogurt with live active cultures
Tools:
– Digital thermometer
– Pot
– Whisk
– Mason jar or other container with a lid
– Oven with a light or a cooler
Make sure to use whole milk for the best results. You can use any brand of plain yogurt with live active cultures as a starter, but make sure it is not expired and has not been opened for more than a week.
It is also important to have the right tools at hand. A digital thermometer is essential to monitor the temperature of the milk. A pot with a thick bottom and a whisk are also necessary as they help to keep the milk from scorching while heating and to ensure that the milk and yogurt are well mixed.
Lastly, you will need a container with a lid that is safe for fermenting. A Mason jar is a popular option, but any other container you have that can be sealed, like a glass bowl or plastic container will work. You will also need an oven with a light or a cooler to keep the temperature stable during the fermentation process.
Preparation
Preparation
Now that you have gathered all the necessary ingredients and equipment, it’s time to start preparing for the yogurt-making process. Follow these simple steps to ensure that everything is ready to go:
1. Sterilize all equipment
Before starting, you need to sterilize all equipment that you’ll be using for making yogurt. This includes jars, containers, thermometer, and utensils. You can sterilize your equipment by boiling them in hot water for 5-10 minutes or by running them through the dishwasher at a high temperature setting.
2. Heat the milk
Heat the milk in a large saucepan until it reaches 180°F. Use a thermometer to keep an eye on the temperature. This will help to kill off any harmful bacteria and create the right environment for the yogurt bacteria to grow.
3. Cool the milk
Remove the saucepan from heat and let it cool to 110°F. You can leave the saucepan on the kitchen counter to cool down or place it in a cold-water bath to speed up the cooling process.
4. Add the starter culture
Once the milk has cooled to the right temperature, it’s time to add the starter culture. This can be store-bought yogurt or yogurt from a previous batch. Add about 2-3 tablespoons of yogurt for every liter of milk and stir well.
5. Incubate the yogurt
After adding the starter culture, transfer the milk to jars or containers and incubate them for 6-12 hours at a temperature between 100-110°F. You can use a yogurt maker, slow cooker, or simply wrap the jars with a towel and place them in a warm spot in your kitchen.
Once the incubation period is over, your homemade yogurt should be thick and creamy. Refrigerate it immediately to stop the fermentation process and chill it for a few hours before serving. Congratulations, you’ve just made yogurt from scratch!
Incubation
Welcome back to our series on incubation! In this section, we’ll be covering one of our favorite uses for an incubator – making yogurt from scratch. Not only is homemade yogurt cheaper and more sustainable than buying it from the store, but it also tastes incredible!
So, without further ado, here’s how to make yogurt from scratch in five easy steps:
Step 1: Heat the milk
Start by heating up your milk in a large pot on the stove. You’ll want to bring it to around 180°F (82°C) and then remove it from the heat.
Step 2: Let the milk cool
Once you’ve heated up the milk, let it cool until it reaches around 110°F (43°C). This is the perfect temperature for adding your yogurt culture.
Step 3: Add your culture
Add a small amount of plain, unsweetened yogurt or a yogurt culture starter to your milk. Stir it in gently until it’s completely combined.
Step 4: Incubate
Transfer your milk and culture mixture to a clean, sterile jar or container. Place it in your incubator and let it incubate at around 110°F (43°C) for 6-12 hours. The longer you incubate, the tangier and thicker your yogurt will be.
Step 5: Chill
Once your yogurt has reached your desired consistency, remove it from the incubator and place it in the refrigerator to chill. This will help it set and thicken even more.
And that’s it – five easy steps to making delicious homemade yogurt from scratch! With an incubator, you can create your own custom flavors and experiment with different types of milk, like coconut or almond milk. Happy incubating!
Finishing and Storage
Welcome back to the final section of our five-part series on how to make yogurt from scratch. In this section, we’ll be discussing the final steps to finishing and storing your homemade yogurt.
Step 1: Cool and Set the Yogurt
After the incubation period is over, it’s time to cool and set the yogurt. Remove the jars from the yogurt maker or the warm oven and let them cool down to room temperature. The longer you let them cool, the thicker your yogurt will be.
Step 2: Refrigerate the Yogurt
Once the yogurt has cooled, you can put the lids on the jars and place them in the refrigerator. It’s important to keep the yogurt refrigerated at all times to prevent bacteria from forming.
Step 3: Serve the Yogurt
Your homemade yogurt is now ready to be enjoyed. You can add your favorite fruits, granola, or honey for added flavor. However, try to avoid using metal spoons or containers when handling the yogurt as this can cause a metallic taste.
Step 4: Save Some Yogurt for the Next Batch
If you plan to make more yogurt, it’s a good idea to save some from this batch. Simply take a clean jar and scoop out about 1/4 cup of the finished yogurt. Store it in the refrigerator until you’re ready to make your next batch. This will act as your “starter culture” for the next batch of yogurt.
Step 5: Troubleshooting
If your yogurt doesn’t turn out the way you expected, don’t worry. There are a few common issues that can be easily fixed. If your yogurt is too thin, try incubating it for a longer period of time. If it’s too thick, try using less starter culture or reducing the incubation time. If you see mold or an unusual smell, discard the entire batch and start fresh.
Making yogurt from scratch is a fun and rewarding process that can save you money and provide a healthy snack for you and your family. With these five easy steps, you’ll be able to make delicious homemade yogurt in no time. Happy yogurt making!