Introduction
Introduction:
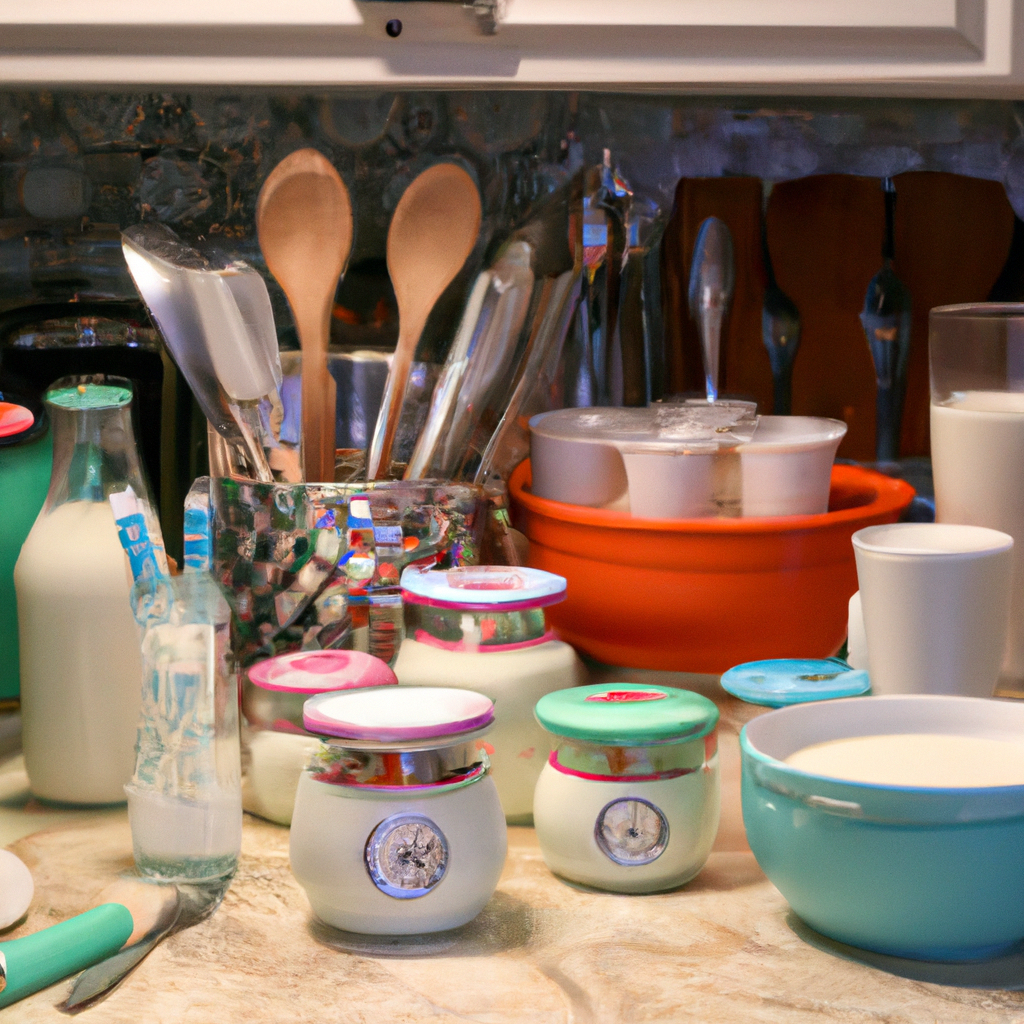
Yogurt is a popular dairy product that is consumed by millions of people worldwide. It is a great source of protein, calcium, and probiotics. However, many people are hesitant to make yogurt at home because they do not own a yogurt maker. Contrary to popular belief, you do not need a yogurt maker to make yogurt at home. In fact, all you need is some basic equipment and ingredients. In this blog post, we will guide you through the process of making yogurt without a yogurt maker. Trust us, it’s easier than you think!
Preparing the Milk
How to Make Yogurt Without a Yogurt Maker
Section 2: Preparing the Milk
If you’re someone who loves yogurt but doesn’t have a yogurt maker, don’t fret! Making homemade yogurt without a yogurt maker is easier than you might think. All you need is milk, a starter culture, and some patience.
In this five-part series, we’ll guide you through the process of making yogurt from start to finish. In this section, we’ll cover the first step: preparing the milk.
Ingredients:
– 4 cups of milk (whole or skim, based on preference)
– 2 tablespoons of plain yogurt with active cultures (starter culture)
– A thermometer (optional but recommended)
Instructions:
1. Heat the milk in a saucepan until it reaches 180°F. If you don’t have a thermometer, heat the milk until it’s hot to the touch but not boiling.
2. Once the milk has reached the desired temperature, remove it from heat and let it cool for a few minutes.
3. Add the yogurt starter and stir gently until it’s fully incorporated into the milk. Use a whisk, spatula, or spoon to mix the yogurt with the milk.
4. Cover the saucepan with a lid or towel to keep it warm.
5. Place the saucepan in your oven with the light on to help keep it warm. Alternatively, you can place it in a warm corner of the kitchen or wrap it with a warm towel.
6. Let the milk and starter culture mixture ferment for 6-8 hours, or until it reaches the desired thickness. Check the yogurt after 4 hours, and then every hour until it reaches the desired thickness.
7. Once the yogurt has set, refrigerate it for at least 2 hours before serving.
Making homemade yogurt without a yogurt maker may take a little more effort, but the end result is worth it. In the next section, we’ll be discussing how to flavor and sweeten homemade yogurt. Stay tuned!
Adding Yogurt Culture
Section 3: Adding Yogurt Culture
Now that you have prepared the milk mixture, the next step is to add the yogurt cultures. Yogurt culture contains specific bacteria that convert lactose in the milk into lactic acid, which thickens the mixture and gives it the characteristic tangy taste of yogurt. You can either use a store-bought yogurt as a yogurt starter or use a culture packet that you can find in health food stores or online. Here’s how to do it:
Ingredients:
– 1 liter of milk
– 2 tablespoons of store-bought plain yogurt or a yogurt culture packet
Instructions:
1. Heat the milk until it reaches 85°C (185°F) while stirring constantly. This temperature will kill any harmful bacteria and prepare the milk for the addition of the yogurt culture.
2. Allow the milk to cool down to 43-46°C (110-115°F).
3. Add 2 tablespoons of store-bought plain yogurt or a yogurt culture packet to the warm milk.
4. Mix the yogurt culture into the milk until it is fully incorporated.
5. Cover the pot with a lid.
6. Wrap the pot in a towel or an insulated blanket. This will help keep the temperature of the yogurt mixture stable while it ferments.
7. Place the pot in a warm spot in your kitchen, away from drafts or cold areas. You can keep it in your oven with only the light turned on, in a dehydrator, or even in a warm water bath.
8. Allow the yogurt to ferment for 6-12 hours. For a thicker, tangier yogurt, leave it to ferment for longer.
9. After the fermentation process is complete, transfer the pot to the fridge to chill.
Congratulations! You have successfully made yogurt without a yogurt maker. You can enjoy it as is, or add your favorite toppings such as honey, fruit, or granola. The possibilities are endless, and the best part is that you made it yourself!
Incubation
Incubation
Once you have mixed your milk and starter culture well, it’s time to incubate your yogurt. The incubation process is what turns your milk into yogurt. To incubate your yogurt, you will need to create the right conditions for your starter culture to grow.
Incubation is typically done in a yogurt maker, but if you don’t have one, don’t worry! There are plenty of ways to create a warm environment for your yogurt to incubate in.
Here are some methods for incubating yogurt without a yogurt maker:
1. Oven method
– Preheat your oven to 100°F (38°C).
– Pour your yogurt mixture into a glass container and cover it with a lid or plastic wrap.
– Place the container in the oven and turn off the heat.
– Let the yogurt incubate for 6 to 12 hours, depending on how tangy you like your yogurt.
2. Crockpot method
– Preheat your crockpot on low for 15 minutes.
– Pour your yogurt mixture into a glass container and cover it with a lid or plastic wrap.
– Place the container in the crockpot and turn off the heat.
– Let the yogurt incubate for 6 to 12 hours.
3. Insulation method
– Pour your yogurt mixture into a thermos or insulated bottle.
– Wrap the thermos or bottle with a towel or blanket to keep it warm.
– Let the yogurt incubate for 6 to 12 hours.
After incubation, your yogurt should have thickened and developed a tangy flavor. If your yogurt didn’t thicken as much as you’d like, it may need to incubate for a bit longer. If it’s too thick, you can add a bit of milk to thin it out.
Once your yogurt is ready, you can transfer it to a storage container and refrigerate it. Yogurt will keep in the fridge for up to two weeks.
Now that you know how to make yogurt without a yogurt maker, you can enjoy homemade yogurt anytime!
Flavoring and Storing
How to Make Yogurt Without a Yogurt Maker
Flavoring and Storing
Making your own yogurt at home is not only easy and affordable, but it also allows you to customize the flavor and texture to your preference. In this final section, we will cover how to flavor and store your homemade yogurt.
Flavoring
When it comes to flavoring your homemade yogurt, the sky is the limit. You can use fresh fruit, nuts, honey, maple syrup, and any other ingredients of your choice to add flavor and sweetness. Here are some ideas to get you started:
– Add fresh or frozen berries like strawberries, blueberries, raspberries, or blackberries to your yogurt for a fruity twist.
– Mix chopped nuts like almonds, walnuts, or cashews with your yogurt for a crunchy texture.
– Drizzle honey or maple syrup over your yogurt for natural sweetness.
– Add a scoop of protein powder, cocoa powder, or vanilla extract for an extra boost of flavor.
To flavor your yogurt, simply scoop it into a bowl and add your desired ingredients. Mix well and enjoy!
Storing
Proper storage is key to ensuring that your homemade yogurt stays fresh and flavorful. Here are some tips to keep in mind:
– Store your yogurt in an airtight container in the refrigerator for up to 1-2 weeks. The longer it sits, the tangier it will become.
– If you want to make a large batch of yogurt, you can freeze it for up to 3 months. Thaw the yogurt overnight in the refrigerator before using it.
– To make thicker yogurt, strain it through a fine mesh sieve or cheesecloth for several hours before storing it in the refrigerator.
And that’s it! With these simple steps, you can make your own yogurt at home without a yogurt maker. It’s a delicious and healthy snack that you and your family will love. So why not give it a try today?