Introduction
Introduction
Drawing is considered as one of the most important elements of art that can help you unleash your creativity and express yourself in the most fascinating way. It is an incredible skill that you can learn and enhance with time and practice. If you are a beginner and want to learn how to draw, then congratulations, you are on the right track!
Drawing can help you relax, enhance your concentration and cognitive abilities, and provide you with a sense of satisfaction and accomplishment. However, it can be overwhelming and challenging, especially if you don’t know where to start. In this blog, we will provide you with some valuable tips and tricks that will help you master the basics of drawing and enjoy the journey of this beautiful art form.
Before we dive into the details, it is essential to understand that drawing is not a talent that people are born with. It is a skill that can be learned and developed with consistent practice, patience, and dedication. Just like any other skill, drawing requires you to start with the basics, understand the fundamental concepts and techniques, and practice, practice, practice. With time, you will experience noticeable progress and improvement in your artwork.
So, if you are ready to learn how to draw, let’s get started!
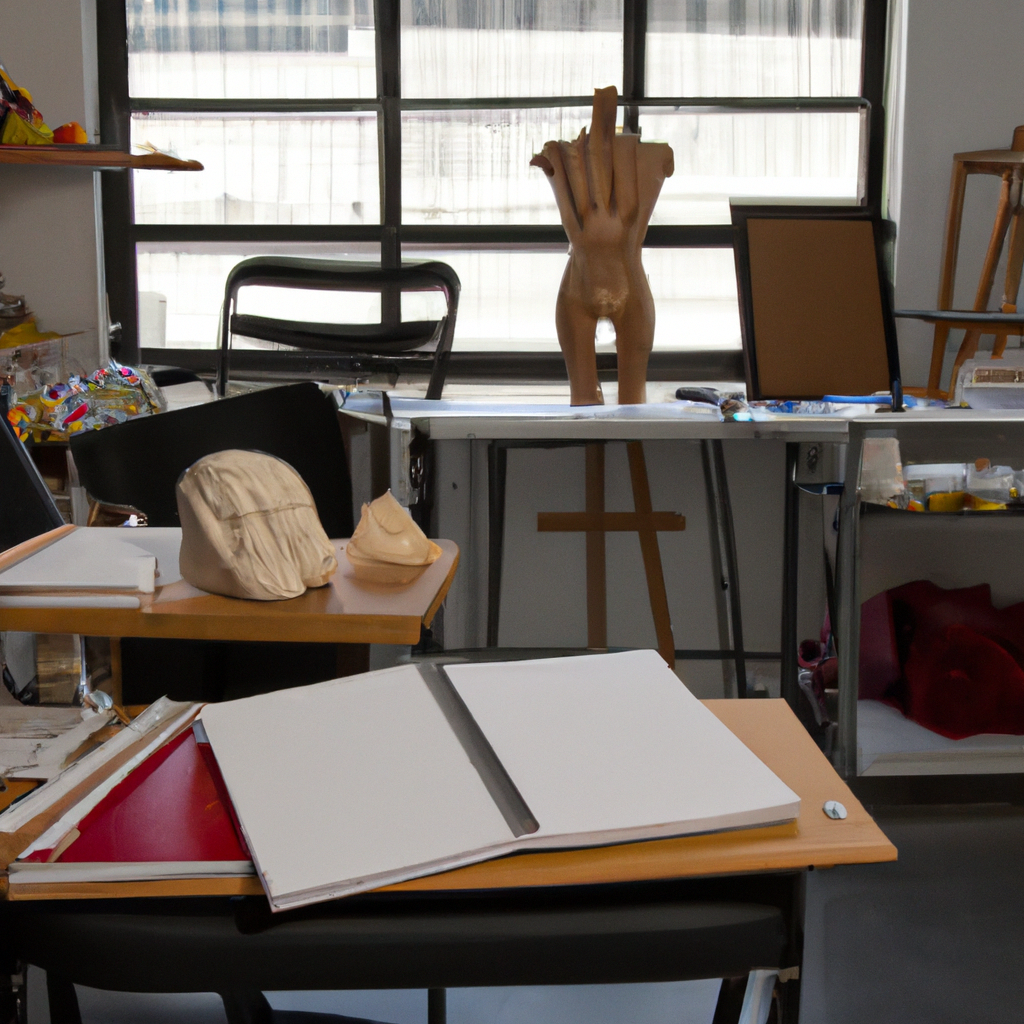
Materials
Materials
Before you start drawing, it’s essential to have the right tools. Here are some basic materials you’ll need to get started on your journey to mastering the basics of drawing.
1. Drawing Pad
The first thing you need is a drawing pad. Choose one with good quality paper that can handle all types of pencils, and has a texture that you like. The size of the pad will depend on the size of the drawings you will be creating.
2. Pencils
Invest in a set of drawing pencils as they come in different grades from hard to soft. A hard pencil leaves a lighter mark and is suitable for light sketches, while a soft pencil creates darker tones and is best for shading. HB is a standard grade and a good starting point.
3. Erasers
Erasers come in different forms and are essential in correcting mistakes. Gum erasers and kneaded erasers are soft and useful for lifting graphite, while plastic erasers are harder and more suitable for removing larger areas.
4. Sharpeners
Always keep your pencils sharp as it enhances the clarity of your lines. Manual sharpeners come in different types, but invest in a quality one that can create a fine point. You can also use mechanical sharpeners if you prefer.
5. Ruler or Straight Edge
A ruler or straight edge is necessary for drawing lines, especially when creating technical drawings. Choose one that has both metric and imperial markings.
6. Blending Tools
Blending tools such as your fingertips, paper stumps, cotton buds, and blending brushes, are used to apply shading to you drawing. They can create smooth and subtle transitions from light to dark.
7. Sketchbook
Lastly, a small pocket-sized sketchbook is handy when inspiration strikes, and you’re on-the-go. Keep one in your backpack or purse, and sketch whenever you get a chance, observe the world around you, and let the creativity flow.
In conclusion, having the above materials is essential in learning how to draw. You don’t have to spend a lot of money on expensive materials as long as you invest in good quality tools that can last a long time. In the next section, we’ll explore the basics of drawing exercises.
Techniques
Techniques
Now that you’ve got the necessary equipment and mindset, it’s time to start learning some techniques that will help you improve your drawing skills. Here are some tips that will help you master the basics of drawing:
1. Practice, Practice, Practice
The key to improving your drawing skills is practice. Make time every day to sit down and draw something. It doesn’t have to be a masterpiece – start with simple shapes and work your way up. The more you practice, the better you will become.
2. Observe and Analyze
Look at the world around you and pay attention to the shapes, forms, and textures of objects. When you’re drawing, take the time to observe what you’re drawing and analyze it. This will help you to capture the essence of the object and make your drawings more realistic.
3. Use Basic Shapes
When you’re starting out, it’s helpful to break down objects into basic shapes. For example, a person’s head can be broken down into an oval shape, and their nose can be represented by a triangle. By using basic shapes, you can create a framework for your drawing and make it easier to get the proportions right.
4. Work on Proportions
Getting the proportions of your drawing right is key to making it look realistic. One way to do this is to use the “tic-tac-toe” method. Draw a tic-tac-toe grid over your reference image, then draw the same grid on your paper. Use the grid as a guide to help you get the proportions right.
5. Use Light and Shadow
Adding light and shadow to your drawing can make it look more three-dimensional and realistic. Pay attention to the light source in your reference image and use shading to create the illusion of depth.
6. Experiment with Different Techniques
Don’t be afraid to experiment with different techniques and styles. Try using different types of pencils, erasers, and paper. Try drawing in different styles – realistic, abstract, cartoonish – to find what works best for you.
By following these tips and techniques, you’ll be well on your way to mastering the basics of drawing. Remember, it takes time and practice to become proficient, but with dedication and persistence, you can achieve your goals.
Practice Exercises
Practice Exercises:
Now that we have covered the basics of drawing, it is time to put your skills to the test. The best way to improve your drawing skills is through practice exercises. Here are some exercises that will help you master the basics of drawing.
1. Drawing shapes: Start by drawing simple shapes such as circles, squares, triangles and rectangles. You can start by drawing freehand, but you can also use a ruler or a compass to create perfect shapes.
2. Observational drawing: Draw objects around you. You can draw your coffee mug, a plant or a book. Observe the object carefully and try to capture its shape, form, and texture. This exercise will help you learn how to see and translate 3D objects onto a 2D surface.
3. Sketching from photos: Choose a photo that interests you and try to sketch it. Start by sketching out the basic shapes and then add the details. This exercise will help you improve your ability to translate 3D images onto a 2D surface.
4. Figure drawing: Start by drawing basic stick figures, and then add shapes and details to create more realistic figures. This exercise will help you understand the proportions of the human body.
5. Contour drawing: Choose an object with interesting contours such as a flower or a shell. Draw the outline of the object without lifting your pen from the paper. This exercise will help you develop your hand-eye coordination.
6. Hatching and cross-hatching: Draw parallel lines to create shading. The closer the lines are together, the darker the shade will be. Cross-hatching is a two-directional shading technique. This exercise will help you add depth and dimension to your drawings.
7. Gesture drawing: This is a quick drawing of the human figure in motion. The drawing doesn’t have to be perfect, but it should capture the movement and energy of the figure.
Remember, the key to improving your drawing skills is to practice regularly. Set aside some time each week to work on your drawing skills. Don’t be too hard on yourself if your drawings don’t turn out perfectly. Keep practicing and you will see improvement. Happy drawing!
Resources and Next Steps
Resources and Next Steps
Congratulations! You have taken the first steps towards mastering the basics of drawing. Now that you have grasped the fundamental principles and techniques, you can start exploring more advanced topics and hone your skills further. Here are some useful resources and next steps to help you continue on your drawing journey:
1. Practice, practice, practice
The most effective way to improve your drawing skills is through consistent practice. Set aside some time each day or week to work on your art. Experiment with different techniques, styles, and subjects. Don’t be afraid to make mistakes or try new things. The more you practice, the more confident and skilled you will become.
2. Join a community or take a class
Drawing can be a solitary activity, but it doesn’t have to be. Joining a community of fellow artists can provide valuable feedback, inspiration, and motivation. You can find online groups or forums to connect with like-minded individuals, or take a local art class to develop your skills in a collaborative environment.
3. Invest in quality materials
While it’s possible to draw with minimal supplies, investing in good quality materials can make a significant difference in your artwork. Consider upgrading your pencils, paper, erasers, and other tools. Experiment with different brands and types of materials to find what works best for you.
4. Explore other drawing techniques
Now that you have mastered the basics of drawing, you can start exploring other techniques and styles. Try working with different mediums such as charcoal, pastels, or pen and ink. Experiment with shading, texture, and composition to create more complex and detailed artwork.
5. Read and watch tutorials
There are countless resources available online and in print that can help you develop your drawing skills. Look for tutorials, books, and videos on specific topics or techniques that interest you. You can also follow other artists on social media and YouTube to learn from their process and techniques.
In conclusion, learning to draw takes time, patience, and dedication. By mastering the basics of drawing, you have laid a solid foundation for further exploration and experimentation. Remember to practice consistently, invest in quality materials, join a community or take a class, explore different drawing techniques, and continue to learn from other artists. Good luck on your drawing journey!